How to Replace RV Awning Fabric
Share article
Replacing RV awning fabric is a DIY-friendly project that can restore shade, appearance, and functionality without replacing the entire awning. With basic tools and a helper, most RV owners can complete the process in one to two hours while saving on repair costs. This step-by-step guide walks through how to safely remove old fabric, install new fabric, and ensure proper alignment for long-term performance.
If your RV awning fabric is worn, torn or sagging, then it might be time for you to replace the fabric. Replacing your RV awning fabric might sound like quite the task, but in reality, this can be a simple, DIY project with just a few tools and the help of a friend. And better yet, by upgrading or replacing the fabric yourself, you can save time and money by not taking your RV into the shop or paying for a total awning replacement. Pretty cool, right? Let’s get started!
- Extend Awning and Secure Head Assemblies
- Take Roll Tube Off
- Unroll the Fabric from the Roll Tube
- Detach Fabric from the Roll Tube
- Prep Fabric Track for Installation
- Roll New Awning Fabric onto the Roll Tube
- Reinstall Roll Tube End Cap
- Test to Ensure the Fabric is Centered
- Reinstall Polycord Screws to the Awning Tube
- Enjoy Your New RV Awning Fabric
How to Replace RV Patio Awning Fabric on an Electric Awning
The video below shows how replacing RV awning fabric is easy and gives step-by-step intstructions for replacing electric awning fabric. Some of the steps may apply to a manual awning, but whichever your rig has, always consult your owner's manual for specific instructions.
10 Steps to Replacing Your RV Awning Fabric
Replacing RV awning fabric involves removing the roll tube, sliding out the old fabric, installing new fabric, and re-centering it before final reassembly.
Step 1: Extend Awning and Secure Head Assemblies
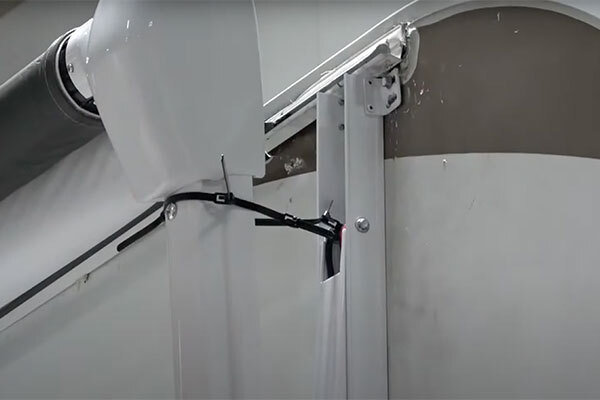
Extend your awning out about 12”, and then secure the head assemblies on each side of your awning. We recommend using zip ties to secure your assemblies. Once you’ve secured the head assemblies, remove the polycord screw on both sides of your awning assembly. This screw is placed about 1” from your awning fabric on both sides.
Step 2: Take Roll Tube Off
Now it’s time to take your roll tube off. This is where you’re going to need a friend or two to help you remove the tube safely. Simply detach the tube from the head assembly on both ends, feed the fabric tube through the awning rail and place it on a clean, level surface to replace your fabric.
Step 3: Unroll the Fabric from the Roll Tube
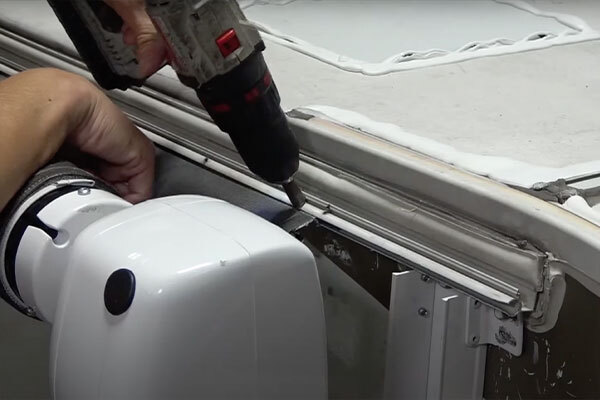
Choose one side of your awning roller tube to remove the tube’s end cap. Typically, there will be three screws that need to be removed to complete this step. Once the cap is off, you can start unrolling the fabric from the roll tube. This step is easier if you have another person’s help.
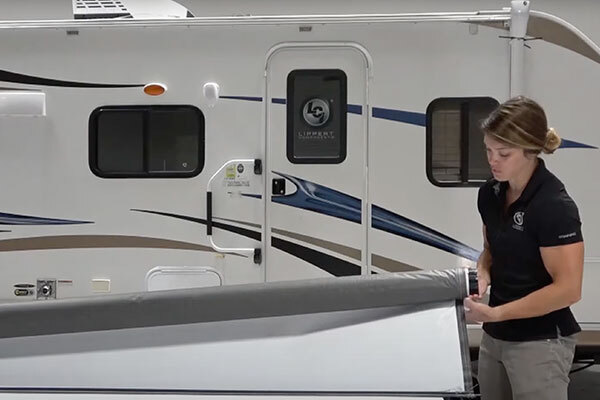
Step 4: Detach Fabric from the Roll Tube
Now that your fabric is unrolled, you should remove the polycord screw attaching the fabric to your roll tube. There will be a screw on both ends that need to be removed. After screw removal, have one person hold the fabric on an end while the other pulls the awning roller tube away from the fabric. Now you’re ready to put your new fabric on!
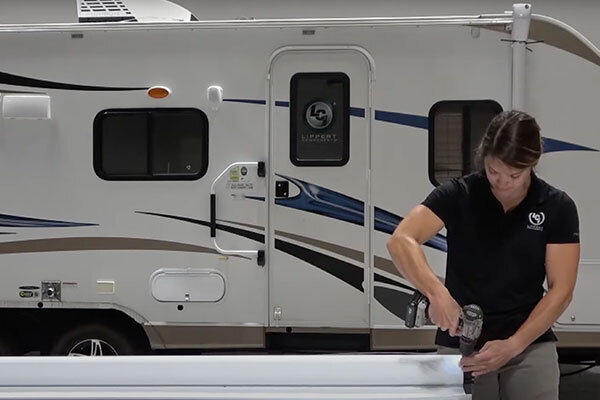
Step 5: Prep Fabric Track for Installation
Before installing your new fabric, we recommend using a silicone spray to lubricate the fabric track before installation, and then be sure to inspect your new fabric for tears and rips before adding it to the track. Next, find the polycord that’s on the side of the fabric where the valance is located, this is the end that you will be installing into the tube first. Be sure that the bottom side of the fabric is facing the roll tube when installing.
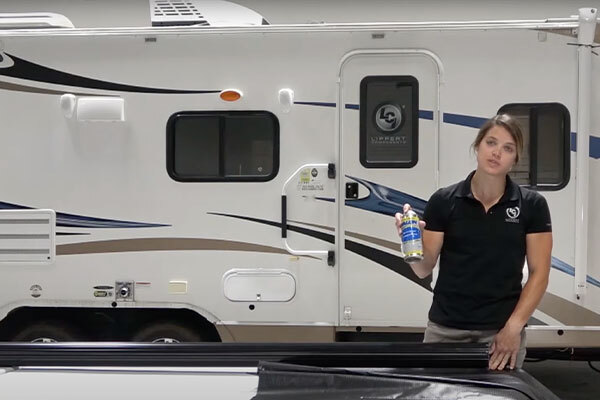
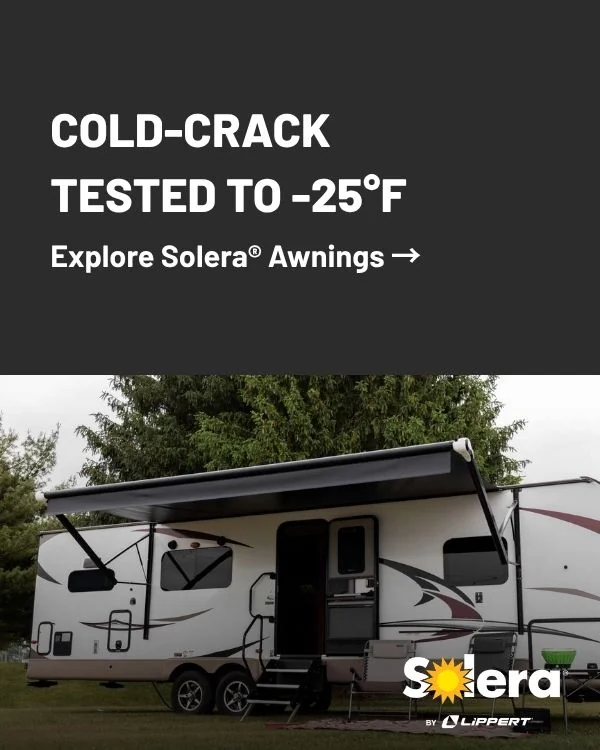
Step 6: Roll New Awning Fabric onto the Roll Tube
Feed the polycord through the track so that your fabric is completely on the roll tube. Next, you’ll want to center the fabric and attach it to the polycord on both ends with your screws. Once secured, you can begin rolling your fabric onto the tube. You’ll want to make sure the fabric is staying tight as you’re rolling and that it’s remaining flat and not telescoping out on either end.
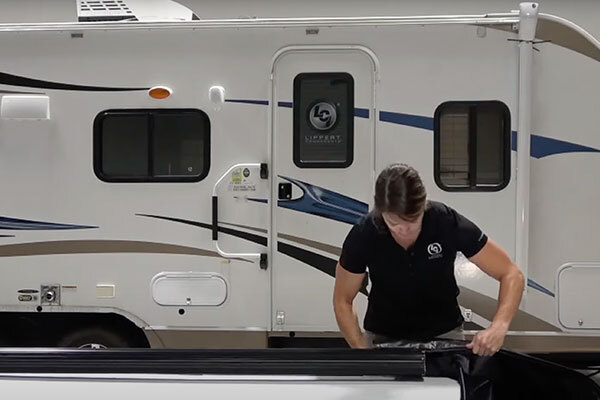
Step 7: Reinstall Roll Tube End Cap
Now that your fabric is rolled tightly, you can reinstall the roll tube end cap with the same 3 screws you previously removed. Before installing the tube back onto your RV, use a flathead screwdriver to widen your awning rail a bit for an easier installation. You should also lubricate the rail just like you did the fabric track, so that your tube slide on easier.
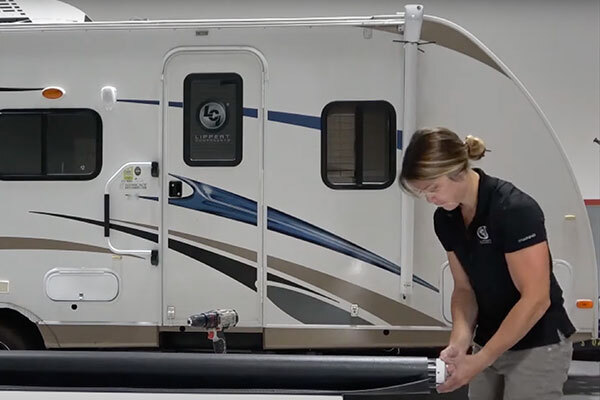
Step 8: Test to Ensure the Fabric is Centered
With help on both ends, slide the polycord tube through the railing, then reinstall the tube into your awning’s head assemblies on each side. Before reinstalling your final polycord screws, we recommend extending and retracting your awning a few times to ensure that your fabric is centered on your roll. You’ll need to remove the zip ties to complete this step.
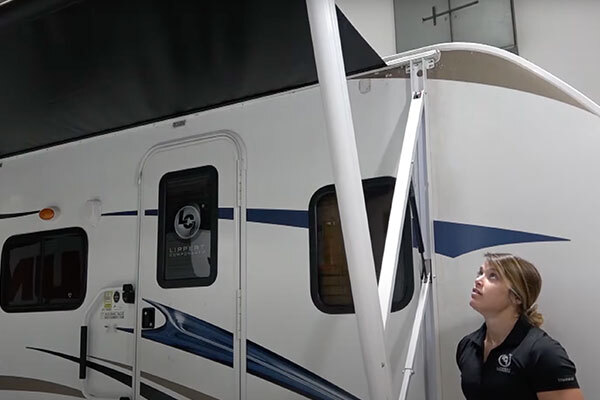
Step 9: Reinstall Polycord Screws to the Awning Tube
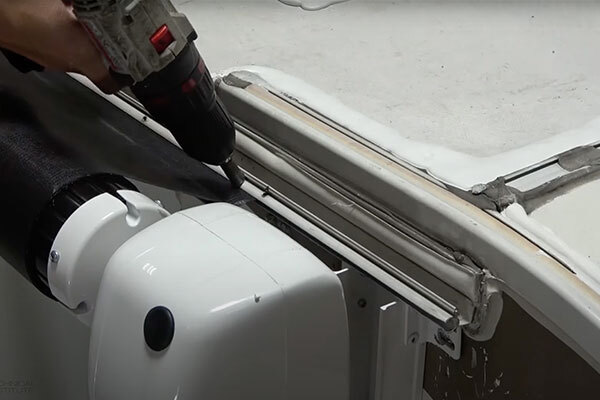
Once you extended and retracted your awning a few times you can go ahead and screw in your last polycord screws using the previous holes for installation. Install the screws on both sides of your awning tube.
Step 10: Enjoy Your New RV Awning Fabric
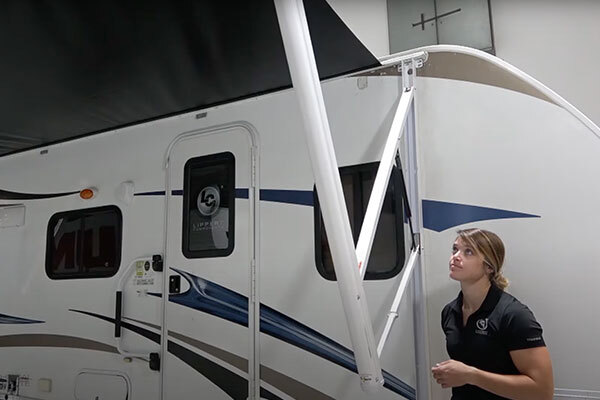
Congratulations! You’ve just replaced your RV’s awning fabric! Now you can get back to enjoying your RV patio area with renewed shade and privacy.
Common Mistakes to Avoid When Replacing RV Awning Fabric
Replacing RV awning fabric is straightforward, but a few common mistakes can cause issues later. Avoid rolling the fabric too loosely, skipping lubrication, or reinstalling screws before confirming the fabric is centered. Taking a few extra minutes to test awning extension and retraction helps ensure smooth operation and long-term performance.
When to Replace RV Awning Fabric Instead of Repairing It
Small tears or loose stitching can sometimes be repaired, but widespread fading, sagging, or fabric brittleness usually means replacement is the better option. New fabric restores shade, improves appearance, and protects your outdoor space more effectively than temporary fixes.
Choosing the Right Replacement Fabric
Not all RV awning fabrics are created equal. Look for heavy-duty materials, reinforced seams, and UV-resistant construction to ensure durability and consistent performance in changing weather conditions.
The Solera Difference
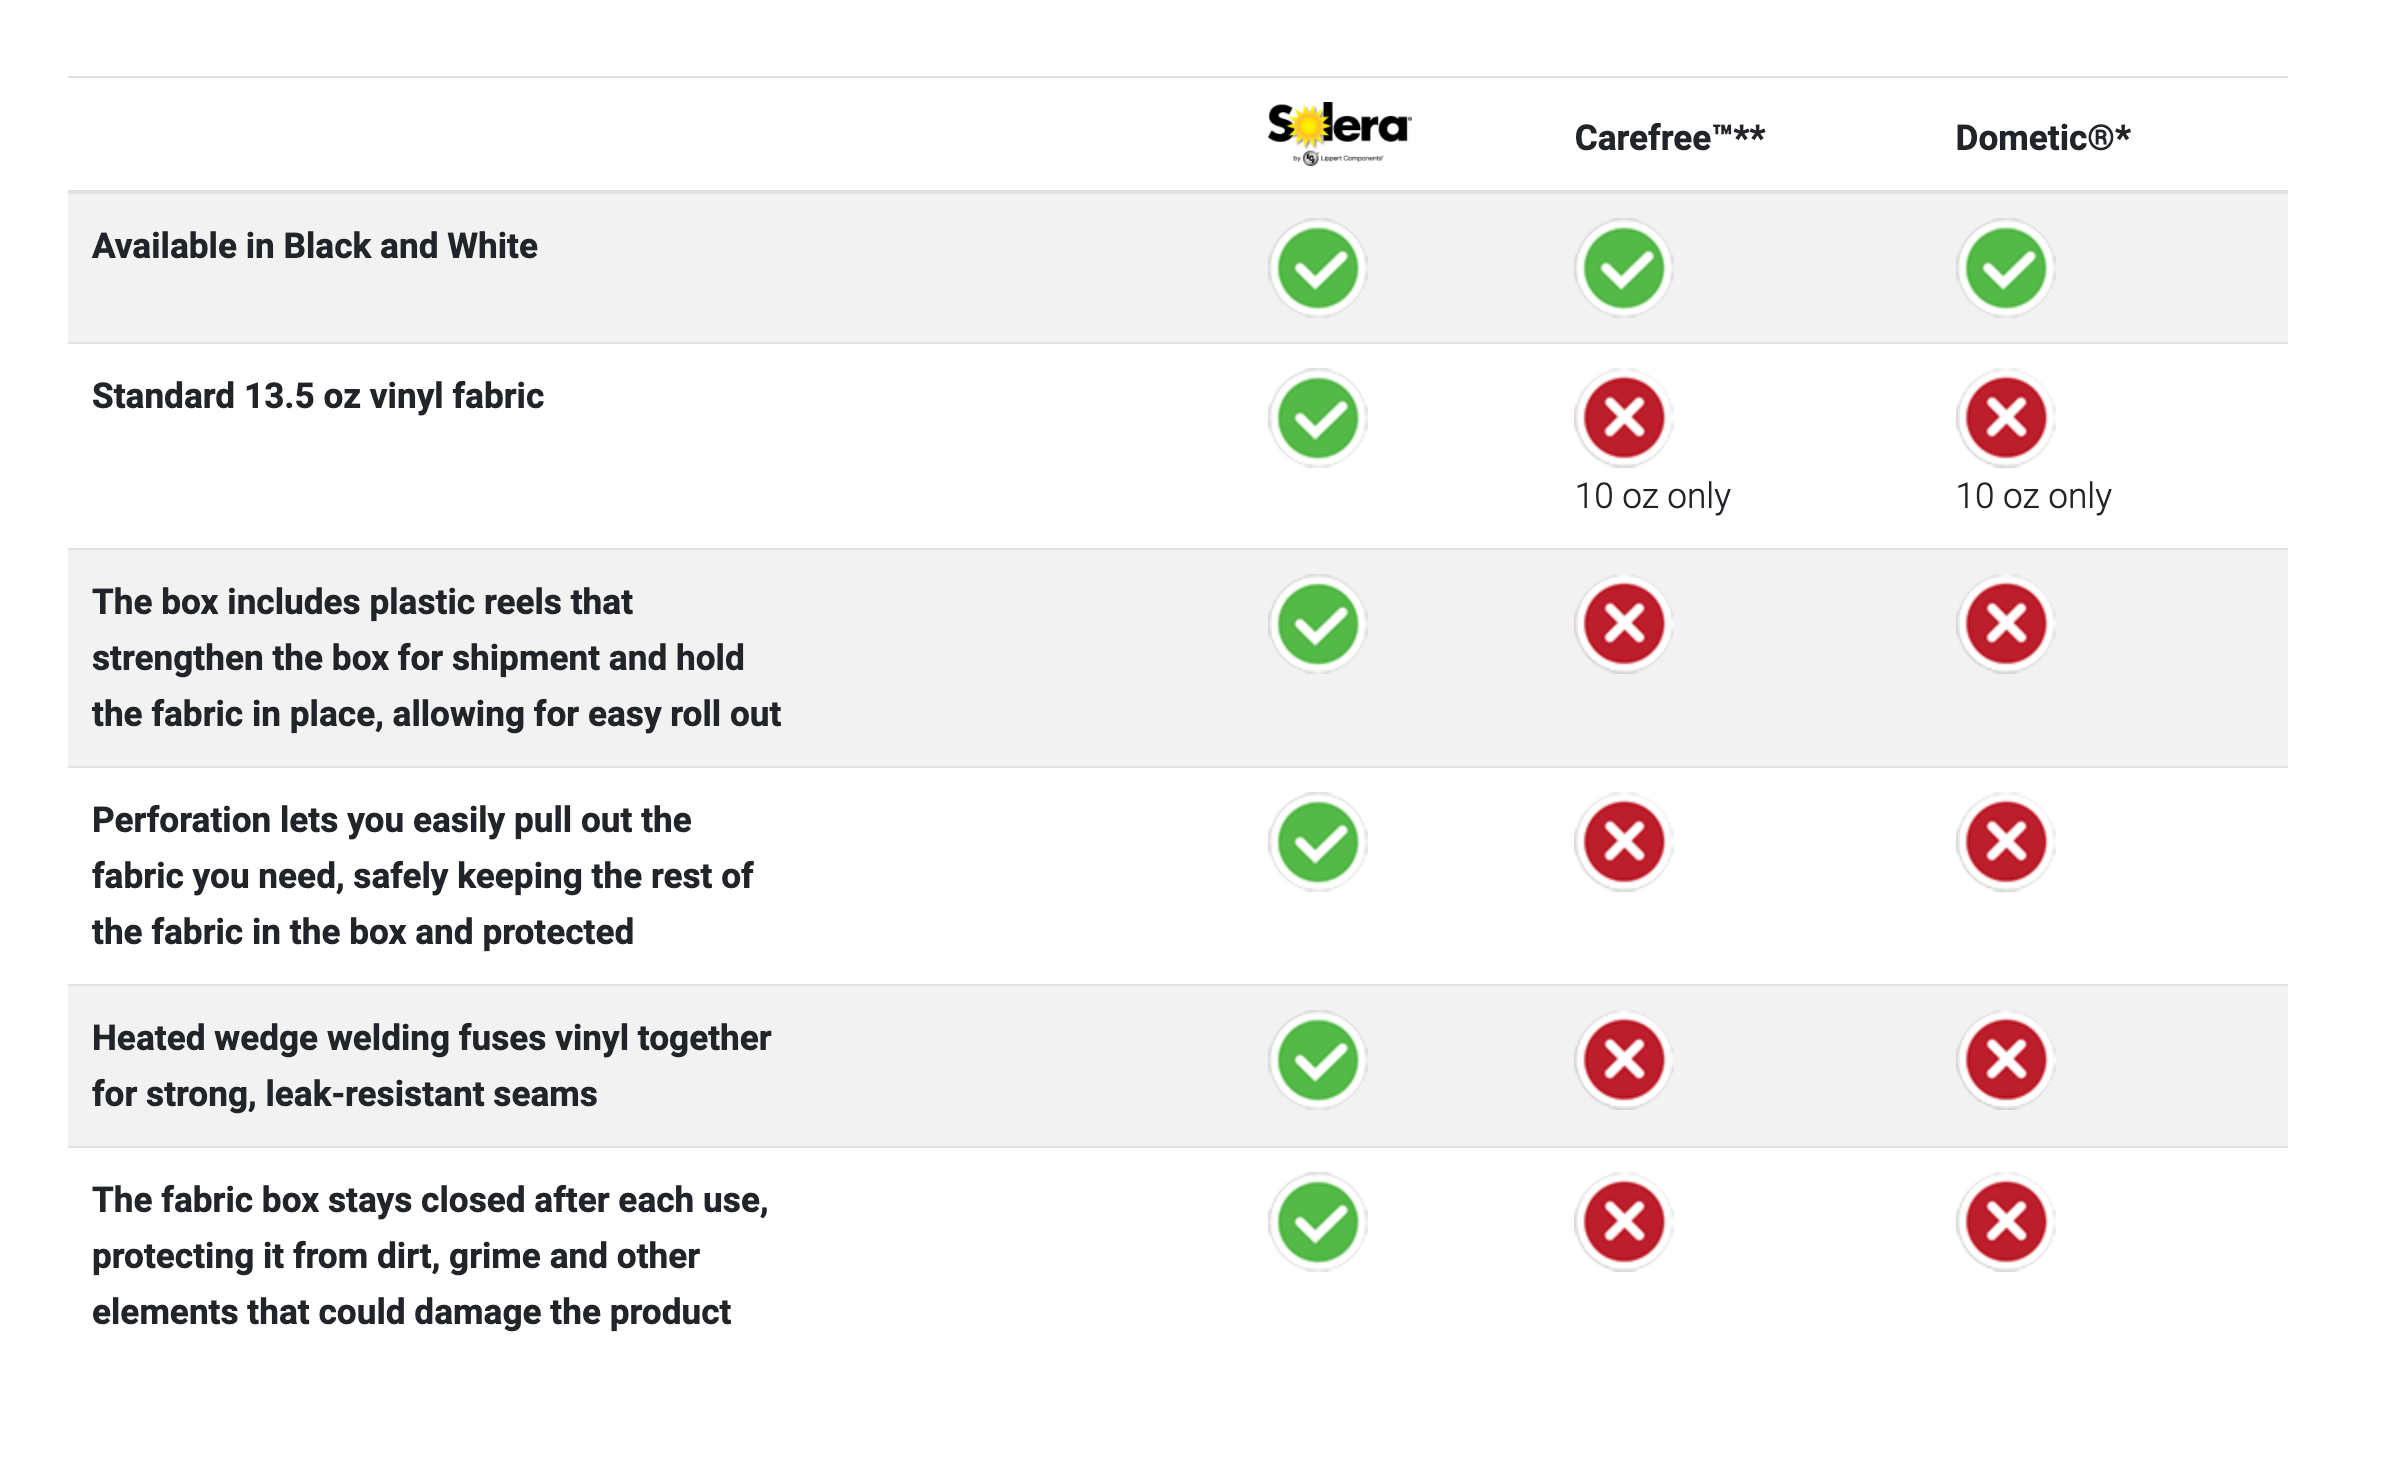
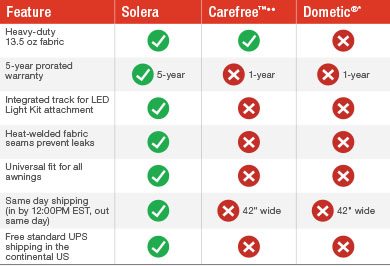
Why choose Solera awning fabrics? Unlike other brands on the market, our fabrics go the extra mile with heat-welded seams, heavy-duty materials and rigorous testing that ensures they can withstand the wear and tear of the elements. Replacing a camper awning with Solera is the best choice for ultimate confidence and added peace of mind.
Looking to totally upgrade your RV awning?
Replacing your RV awning has never been easier! Check out our Solera® awning builder and design your perfect outdoor oasis. From fabric coloring to awning hardware, we give you the freedom to build your awning, just the way you want it!
FAQs for Replacing RV Awning Fabric
1. Can I replace RV awning fabric myself?
Yes. Most RV awning fabrics can be replaced as a DIY project using basic tools and a second person to help handle the roll tube safely.
2. How long does it take to replace RV awning fabric?
Replacing RV awning fabric typically takes 1–2 hours, depending on awning size, type, and experience level.
3. Do I need to replace the entire awning or just the fabric?
If the hardware and arms are in good condition, you only need to replace the fabric. This is significantly more affordable than replacing the entire awning.
4. Is replacing electric awning fabric different from a manual awning?
The core steps are similar, but electric awnings may require additional precautions. Always follow your owner’s manual for model-specific instructions.
5. What tools do I need to replace RV awning fabric?
Common tools include a screwdriver, zip ties, silicone spray, a flathead screwdriver, and at least one helper.
6. How do I know what size replacement awning fabric to buy?
Measure your existing awning fabric from polycord to polycord, not the length of the awning arms.
7. Why is my awning fabric sagging after replacement?
Sagging is usually caused by off-center fabric or uneven rolling. Extending and retracting the awning before final screw installation helps prevent this.
8. What is polycord, and why is it important?
Polycord is the reinforced edge that slides into the awning track and roll tube. It keeps the fabric aligned and secured during operation.
9. Should I lubricate the awning track before installing new fabric?
Yes. Silicone spray helps the fabric slide smoothly into place and reduces installation friction.
10. How long does RV awning fabric last?
High-quality awning fabric typically lasts several years, depending on sun exposure, weather conditions, and maintenance.